The new Le Creuset Braising pan arrived on Friday. Did you know Le Creuset has a very liberal return/exchange/replace policy? Our ceramic lasagna pan ended up with a large crack, rendering it unusable. I had only had it for a couple of years. I looked on-line to see if it was still available. Sadly, it was not. However, while searching, I learned they would issue me credit and allow me to choose something else. I chose the 3.5 quart braising pan. It is lovely and I must say, it did a darn good job with my standard short rib recipe! This recipe is inspired by my favorite dish at a restaurant called Andrei’s Conscious Cuisine in Irvine, CA and Molly Steven’s recipe from Fine Cooking Magazine.

For the marinade – Day One of Two
2 large cloves garlic, smashed and peeled
2 large sprigs thyme
2 strips orange zest (about 1 inch wide, 3 to 4 inches long)
2 bay leaves
1/4 tsp. allspice berries, coarsely crushed in a mortar or with the side of a chef’s knife
1/4 tsp. black peppercorns
4 whole cloves
1 750-ml bottle hearty, dry red wine such as Zinfandel
Tie the dry seasoning together into a bouquet garni. Pour the wine into a saucepan, add the sachet and simmer gently for about 10 minutes. Cool completely.


4 to 5 lb. meaty bone-in beef short ribs, preferably English style, about 2-3 per person
1-1/2 tsp. kosher salt; more as needed
3 Tbs. extra-virgin olive oil
1 medium to large yellow onion, coarsely chopped
1 medium celery stalk, coarsely chopped
1 medium carrot, peeled and coarsely chopped
Freshly ground black pepper
2 cups homemade or low-salt canned beef or chicken broth
2 Tablespoons of Bisto Granules*
While the marinade cools, trim away any excess fat from the top of each rib down to the first layer of meat, but don’t remove the silver skin or tough-looking tissue that holds the ribs together or onto the bone. Put the ribs in a zip lock bag and pour over the cooled marinade and sachet. Refrigerate for 12 to 24 hours, turning the ribs once or twice.
Day Two: Heat oven to 300″. Remove the ribs from the marinade, reserving the marinade and the sachet. Pat the ribs dry thoroughly with paper towels. Heat 2 Tbs. of the oil in a 5- to 6-quart Dutch oven (or other heavy pot with a lid) over medium heat until hot. Add only as many ribs as will fit without touching, and brown them, turning with tongs, until nicely browned on all sides, 3 to 4 min. per side. Transfer to a platter, and continue until all the ribs are browned.

Pour off and discard most of the fat from the pot. Add the remaining tablespoon of oil and return the pot to medium heat. Add the onion, celery, and carrot, season with salt and pepper, and cook, stirring occasionally, until browned in spots, about 8 min.

Add half of the reserved wine marinade, increase the heat to high, stir to scrape up any browned bits, and bring to a boil. Continue to boil until the liquid is reduced by half, 2 to 4 minutes. Add the remaining marinade and reduce again by about half, another 3 to 5 min. Add the broth and boil for 3 min.

Return the ribs to the pot, preferably in a single layer, along with any accumulated juices and the sachet. Crumple a large sheet of parchment and smooth it out again. Arrange it over the pot, pressing it down so it nearly touches the ribs, allowing any overhang to extend up and over the edges of the pot. Set the lid in place, and transfer to the oven.


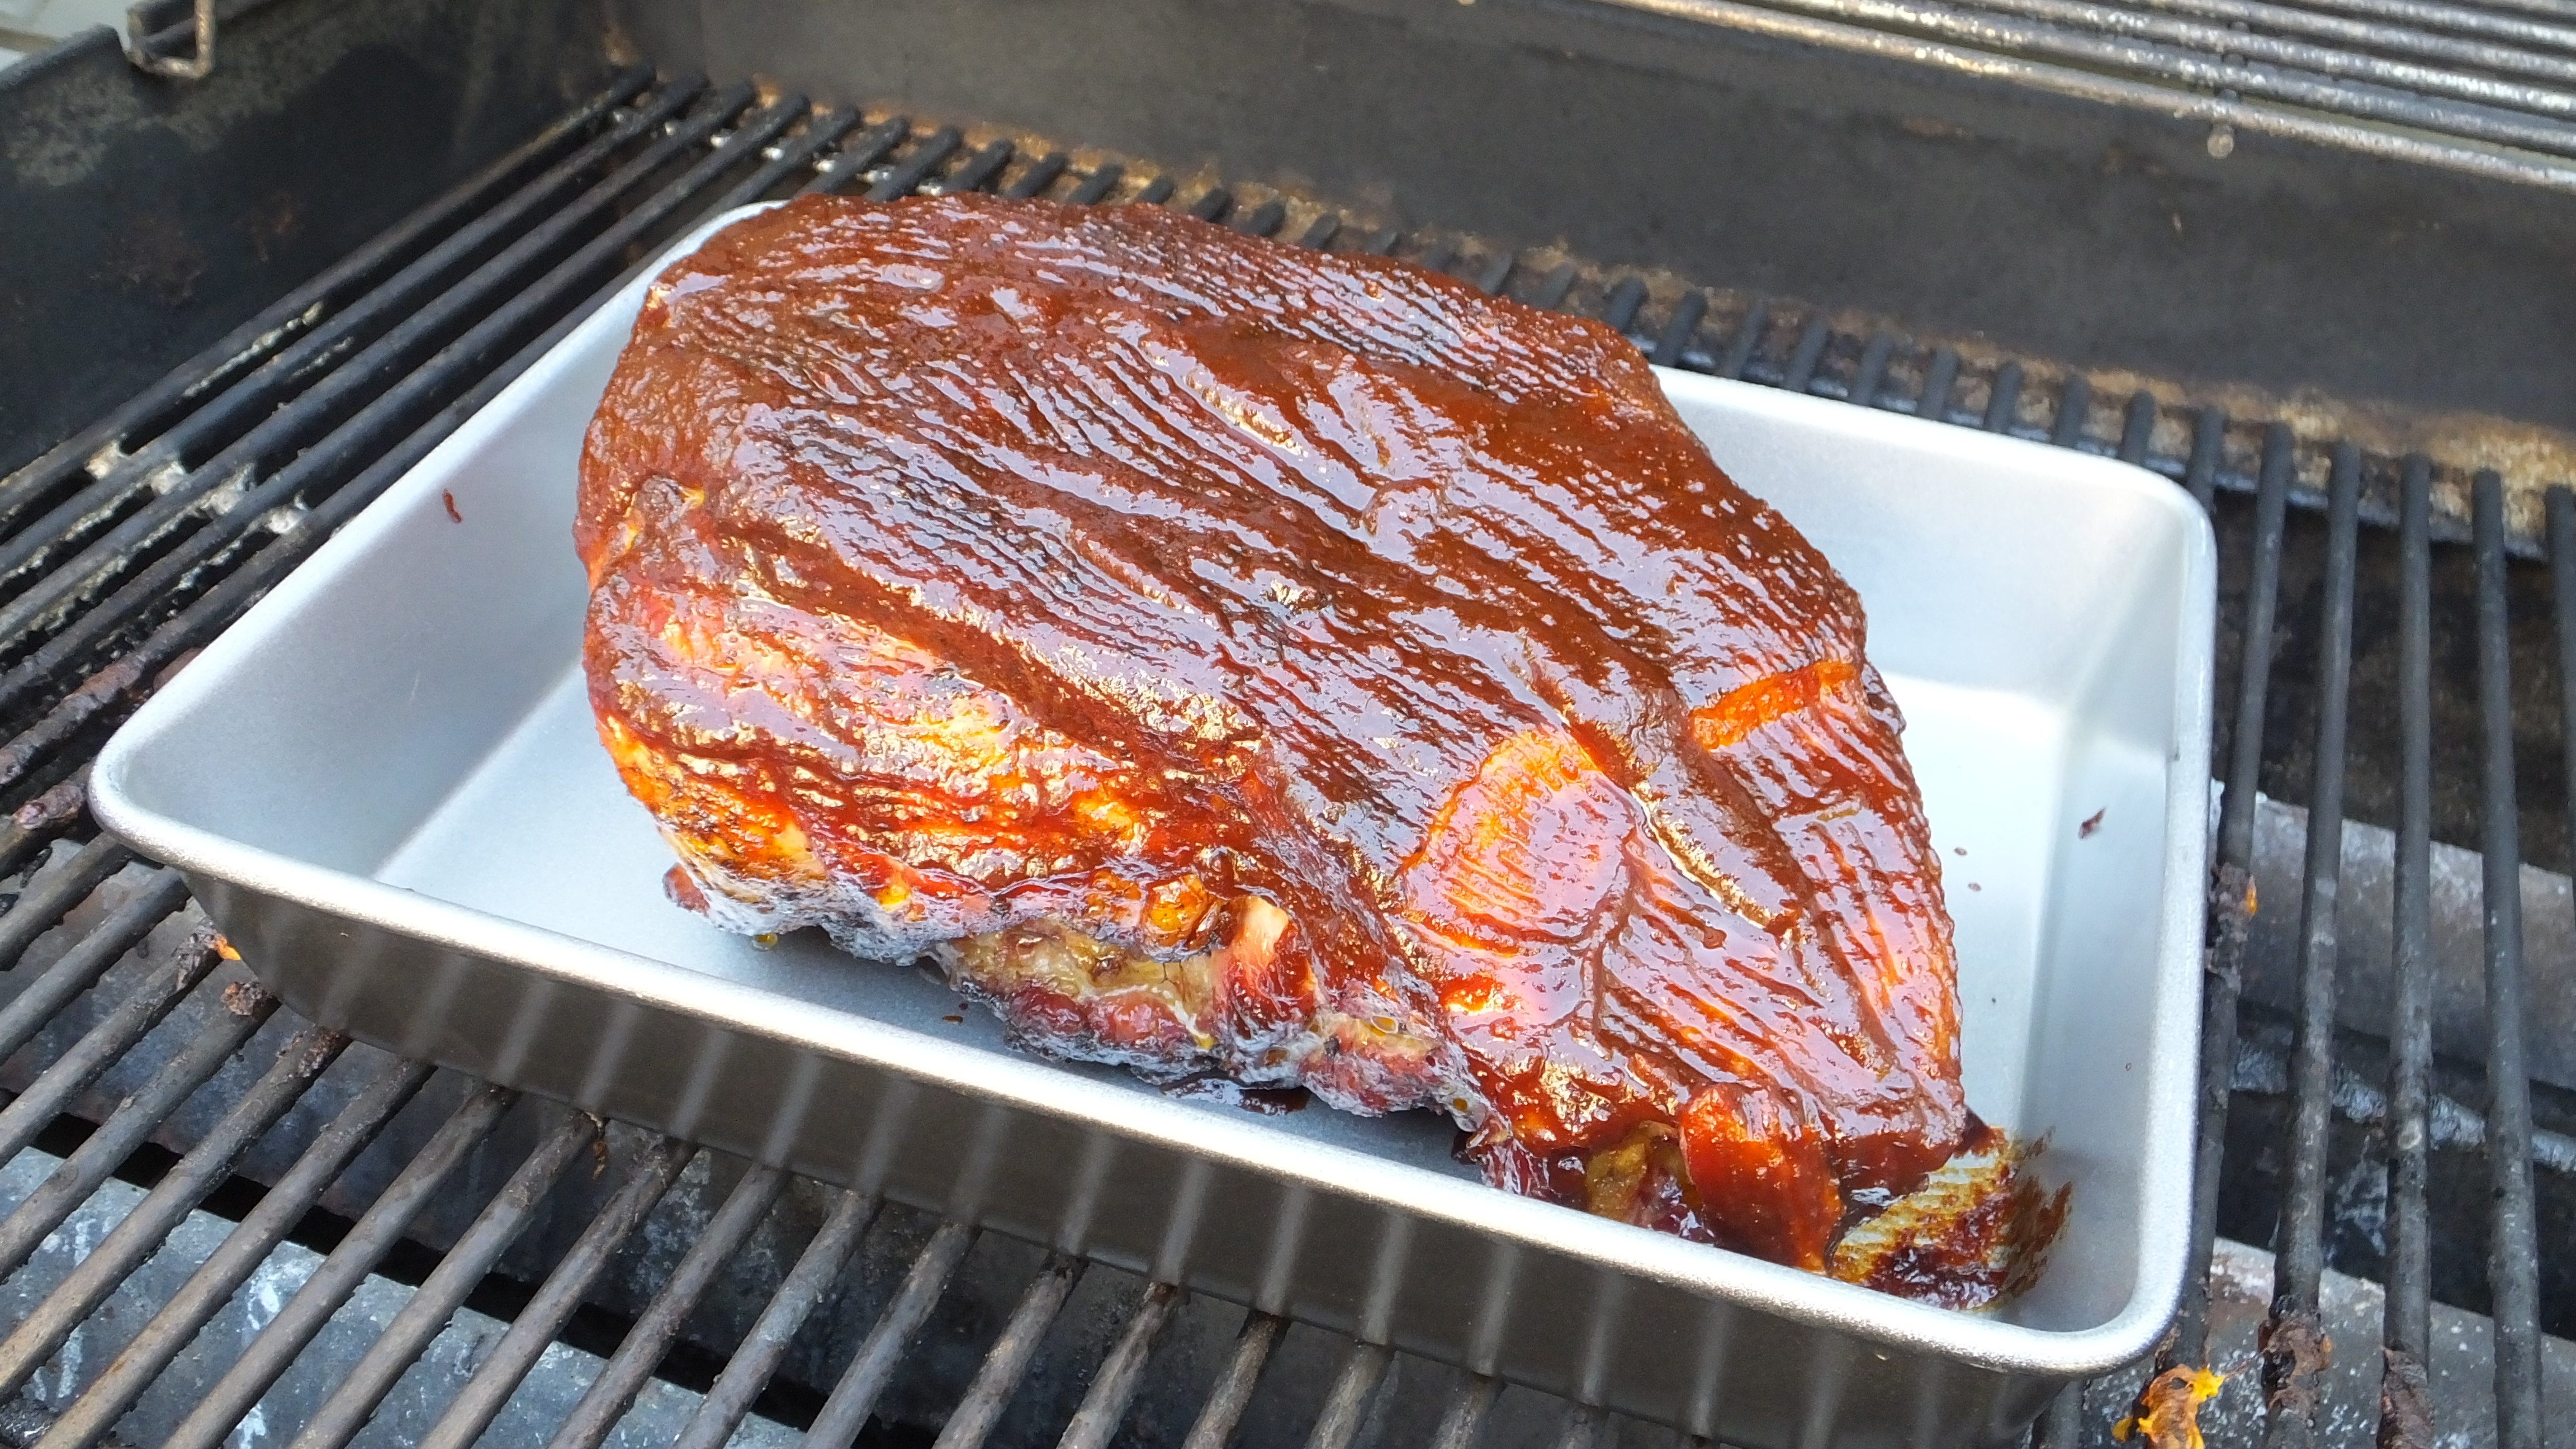
Braise, turning the ribs with tongs every 45 minutes, until the meat is fork-tender and pulling away from the bone, about 2-1/2 hours. Use tongs or a slotted spoon to carefully transfer the ribs to a serving dish. Don’t worry if some bones slip out. Cover loosely with foil to keep warm.
Bring the sauce to a slow simmer. Skim as much fat as possible. (You can also refrigerate the sauce overnight to remove fat, before serving.) Stir in the 2 Tablespoons of Bisto* to thicken. Serve with oven roasted cipollini onions and fluffy mashed potatoes. (The original recipe calls for straining out the carrots, celery and onion before thickening the sauce. I see no reason to do that.)
*OK – I am busted. I am fessing up to my use of Bisto. It is an amazing beef flavored thickener. I use it for stews, sauces and gravies frequently. You can usually find it in the British section of the supermarket, or it can be ordered on-line. http://www.aahnight.co.uk/ As you know, this is NOT a paid advertisement. I am sharing an awesome shortcut with you!