This one pot wonder is inspired by a post on the blog “Not Without Salt”, who was just named the Best Food Blog 2013 by Saveur Magazine! The original version was created for a pressure cooker and featured in the new “Pressure Cooker Perfection” cookbook from America’s Test Kitchen. I have made this recipe twice now. I fully intended to use my pressure cooker the first time I made this, but it was far too small for this recipe. So I improvised. The first time I used the crock pot and the second time I braised the stew in the oven about 5 hours. I actually think the crock pot version was slightly better. Regardless, this is a fabulous “stew”, that not only fills your tummy at dinner time, it also fills your kitchen with the most amazing aromas as it cooks!
Ingredients

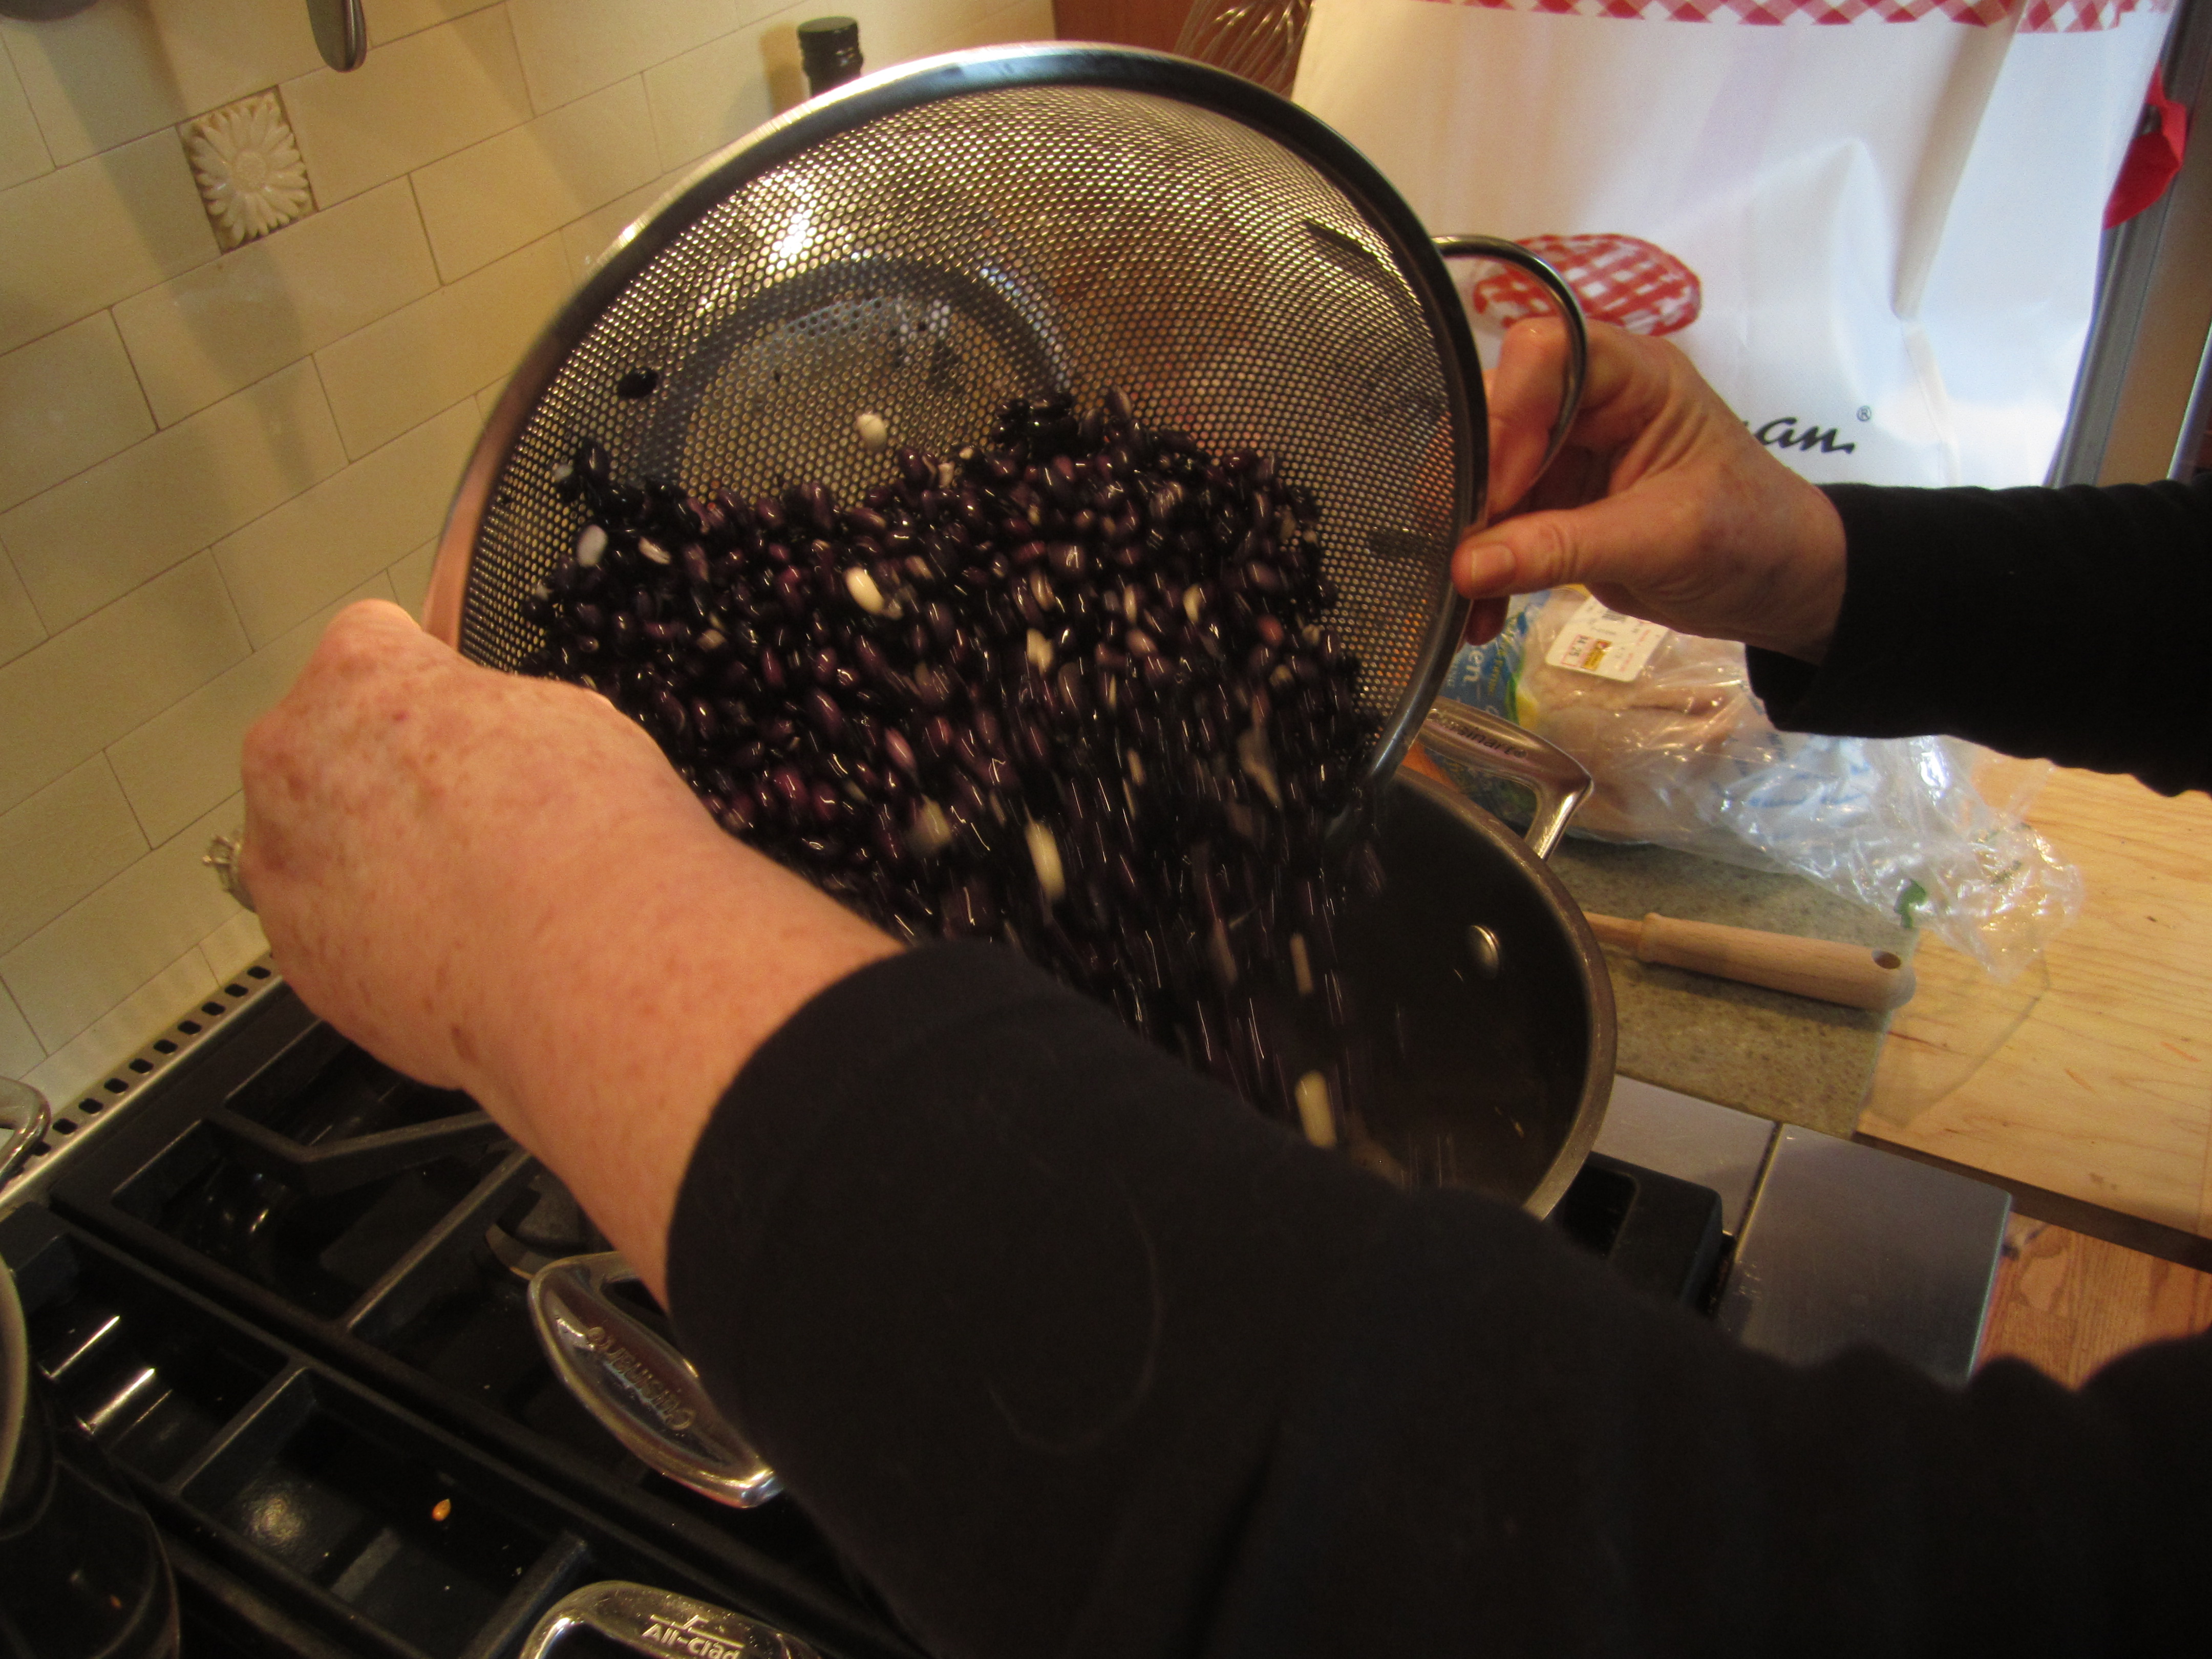
8 ounces, 1 1/4 cups, dried cannellini beans, soaked overnight in water*
*You could use two cans of cannellini beans. You would need to rinse them extremely well, and add the last hour of cooking.
3-4 pound boneless pork butt roast, cut into 1-2″ fat trimmed cubes and seasoned on both sides with salt and pepper
2 yellow onions, coarsely chopped
8 cloves garlic, minced
6-8 carrots cut into 2″ chinks
1 large fennel bulb cut into 1″ chunks

2 Tablespoons Herbs de Provence
2 bay leaves
1/3 cup flour
1-2 cups dry white wine
2-3 cups chicken stock
high heat oil for browning
salt and pepper
Brown the pork in a skillet (if using the crock pot) or Dutch oven (if braising in the oven) in about 2 tablespoons of oil. Brown in 2-3 batches, don’t crowd the pan. 
Once all the meat has been browned, drain the excess oil, leaving about 1 tablespoon in the pan. Add the onions and saute about 3 minutes. Add the garlic and saute about 5 more minutes. Scrape up all the lovely bits from the bottom of the pan.
Sprinkle the 1/3 cup of flour over the onions and garlic. Saute about 1 minute to cook in the flour. Add the Herbs de Provence and the Bay leaves.

Add in 1- 2 cups of wine. Stir briskly, scraping the pan to incorporate all the “goodies” from the bottom of the pan. Cook for about 10 minutes or until the liquid is reduced by half.

Reduce the heat and add the ingredients back into to pan as listed below. (If using the crock pot, layer the ingredients as listed, and then pour the onion, garlic and wine reduction over them.)
Add in the drained, soaked beans followed by the pork, the carrots and fennel. (If using canned beans, do not add them yet!) Add chicken broth to ensure all ingredients are covered. (If using canned beans, do use about 1-1 1/2 cups broth.) If using a Dutch oven, bring all to a simmer and then move to 325′ oven for about 5 hours, stirring every 45 minutes to an hour. (If using canned beans, cook 4 hours and then add the beans, cook one more hour.) If using the crock pot, cook 6-7 hours. Again, if using canned beans, add them in at the last hour of cooking time.
To serve, plate in a bowl and garnish with chopped parsley. Serve with crusty french bread, a tossed green salad* and a Washington Pinot Grigio.

*If I had skipped the salad, I would have skipped the trip to the ER to get stitches in my hand! I was dishing things up at 7pm. I went to open a bottle of salad dressing. The bottle was broken, just under the cap. When I went to turn the cap, it fell off and the glass at the top of the bottle sliced my palm. It was pretty deep and I knew I needed stitches. So, everything got turned down to “warm” and we headed to the neighborhood ER. 3 stitches and only one hour later, we sat down to this lovely meal. The salad dressing bottle is below. I am not going to show you the hand, or the stitches!